Nutritional Information: 4 portions per recipe
Calories: 287
Carbohydrates: 51
Fat: 6
Saturated Fat: 6
Protein: 1
Sugar: 0
~~~~~~~~~~~~~~~~~~~~~~~~~~~~~~~~~~~~~~~~
Shopping List:- 2 baking potatoes (640g total)
- 1.5 tbsp/22ml cooking oil
- Salt
- Pepper
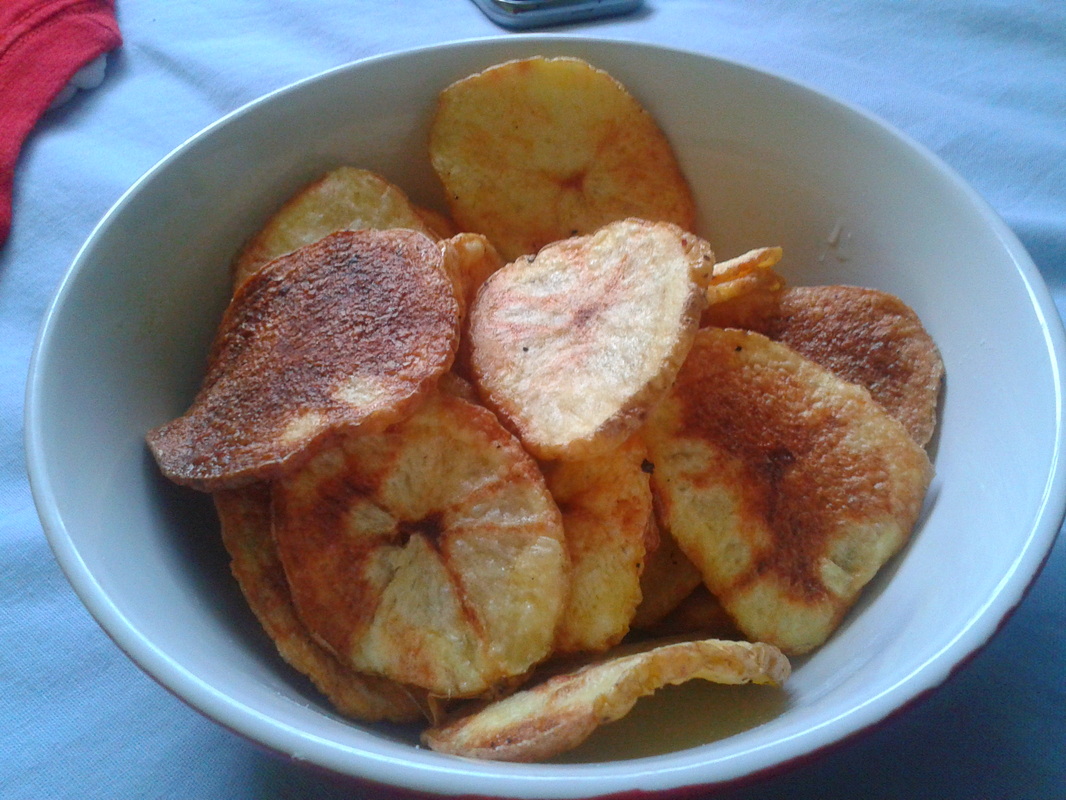
This is a real treat, for me at least. I hardly eat crisps or chips but when I do, I make a meal of it. Method: Step 1: Slice the potatoes thinly, about 3mm thick if you can manage it. Step 2: Place slices into a bowl and add the oil, a pinch of salt and a pinch of pepper. Step 3: Mix with your hands until evenly coated. Step 4: Place slices onto a plate with a sheet of baking paper on it, keeping them separated. Step 5: Mircowave for 4 minutes, turn them, and mircowave for another 4 minutes. This is with a 800W microwave, your own might differ. Step 6: Place cooked chips into a bowl and leave to cool. I like to add a little bit of salt and pepper as they cool, then add vinegar later! So good.
Nutritional Information: 20 portions per recipe
Calories: 72
Carbohydrates: 11
Fat: 3
Saturated Fat: 1
Protein: 3
Sugar: 5
~~~~~~~~~~~~~~~~~~~~~~~~~~~~~~~~~~~~~~~~~~
Shopping List:- 150g milk cooking chocolate
- 130g Rice Krispies or Corn Flakes
This is a very easy recipe, great for when you're working with kids or want something sweet without putting in a lot of effort! Method: Step 1: Melt the cooking chocolate in a bowl over a pan of boiling water, which acts as a bain marie. Step 2: Once melted, take the bowl of chocolate off the heat and begin to add some of the Rice Krispies, a little at a time. Step 3: Keep stirring the Rice Krispies in until they're all coated equally with chocolate. Step 4: Using a tablespoon, scoop the mix into cake papers. One scoop per paper should be enough. Step 5: If you want to decorate, go ahead. I just use coloured sugar. Step 6: Leave them to dry, and they're ready to eat! Store in an air-tight container for up to 3 days.
Nutritional Information: 1 portion per recipe
Calories: 180
Carbohydrates: 20
Fat: 6
Saturated Fat: 4
Protein: 9
Sugar: 14
~~~~~~~~~~~~~~~~~~~~~~~~~~~~~~~~~~~~~~~~~~~
Shopping List:- 1 tsp coffee of your choice
- 1 tbsp hot water
- 250ml semi skimmed milk
- 0.5 tsp nutmeg
- 0.5 tsp cinnamon
- 0.5 tsp ginger
- 1 tsp vanilla extract
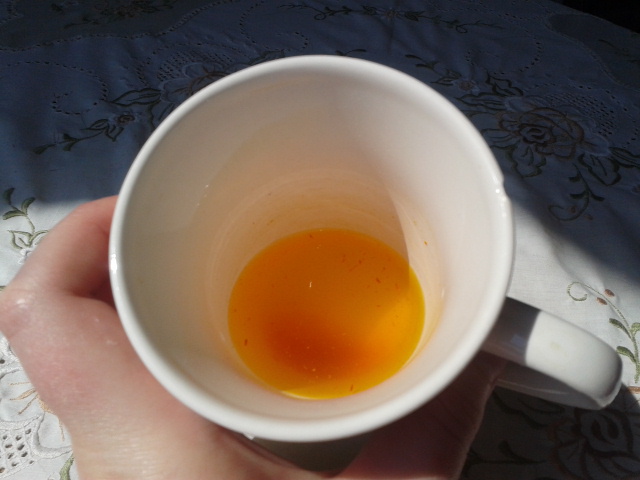
Method: Step 1: Add the spices, coffee and vanilla extract together in your cup. Step 2: Add the hot water and stir it until smooth.Step 3: Pour your milk into a microwavable container, and give it a good shake until it's bubbly.Step 4: Remove the lid and microwave for 30 seconds.Step 5: Pour the milk into your coffee, and scoop the remaining foam onto the top. Dust with chocolate if you please!Step 6: Enjoy! Add sweetener or sugar to taste, and you can use any kind of skimmed milk - just note that this means the calories will be slightly different. If you want to make a PUMPKIN latte, use this recipe and add 1 tsp of canned pumpkin! Enjoy the Fall weather while it lasts!
Nutritional Information: 8 Browns per recipeCalories: 28Carbohydrates: 2Fat: 1Saturated Fat: 0Protein: 3Sugar: 1~~~~~~~~~~~~~~~~~~~~~~~~~~~~~~~~~~~~~~~~~~ I will update with a photograph in the future - I always made these in the evening, so natural light escaped me. However, I must share this now, because they are a perfect substitute for fries or any other potato-based side dish. They're easy to make, so no excuses - give them a try! Shopping list:- 20g low fat butter
- 20g bread crumbs
- 20g chopped onion
- 100g courgette/zucchini, with skin
- 1 egg
- Pinch of salt and pepper
Method:Step 1: Use the butter to grease a muffin tray. The semi-circular cavities are perfect for using as a baking mold! Step 2: Finely chop or process the courgette and onion.Step 3: Mix the vegetables with the egg, salt, pepper and bread crumbs. Step 4: Spoon the mixture into the muffin tray. Press down on the top with the back of a spoon to make sure the hash browns have as little air in them as possible. You should be able to make about 8 hash browns from this recipe.Step 5: Bake in a preheated oven at 200 degrees Celsius or 400 F for around 20 minutes, until the tops are brown and crispy. You can keep these in an airtight container in your fridge for a couple of days. Enjoy!
Nutritional Information: 8 portions per recipe
Calories: 186 (or 154 if you use Silver Spoon's Half Spoon sugar)
Carbohydrates: 45
Fat: 3
Saturated Fat: 2
Protein: 6
Sugar: 33
~~~~~~~~~~~~~~~~~~~~~~~~~~~~~~~~~~~~~~~~~
Shopping List:- 2 Large Eggs (whites only, at room temperature!)
- 1 cup/128 g white sugar OR 0.5 cup/64 g Half Spoon sugar
- 1 cup/128g self raising flour
- 1 tablespoon/15g baking powder
- 1 cup/230ml skimmed milk
- 1 teaspoon vanilla essence
- Pinch of salt
- 50g low fat butter (I used Weight Watchers half fat butter)
- 60g icing sugar
- Food colouring/cake decorations of your choice (optional)
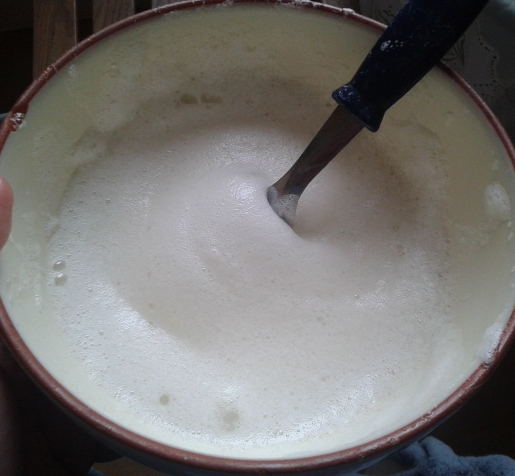
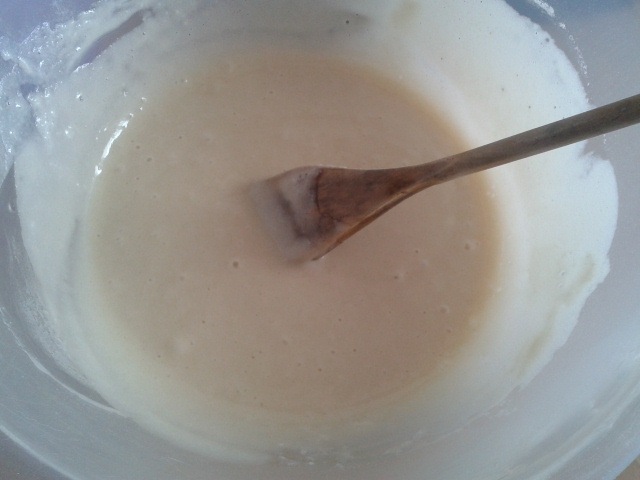
Method:Step 1: Preheat your oven to 350 degrees F or 175 degrees C. Step 2: Beat the egg whites until stiff and fluffy. You'll know when they're ready because they'll be like a bubbly foam. Please note, this takes a while when doing it by hand, and afterwords your arm will feel like it's about to fall off. I recommend using an electric whisk. But yes, here is what they should look like when you're done:: See that handle? That's a fork. I did this by hand. Because I'm an idiot.
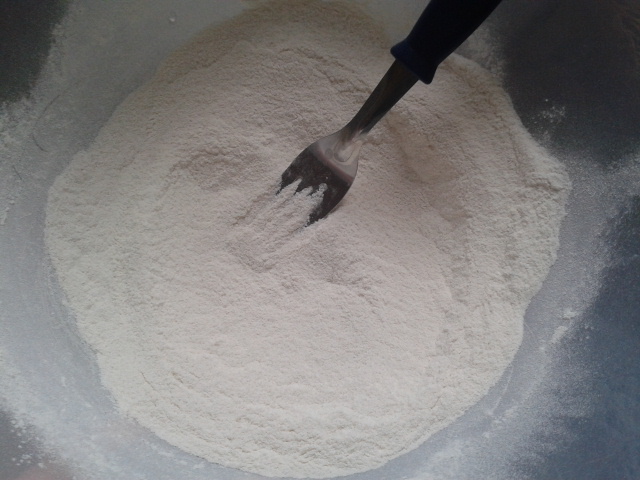
Step 3: Set the egg whites aside for now. Sift your sugar, flour, salt and baking powder together and set aside. If you're like me and don't have a sieve, you can use a fork. It should be perfectly mixed with no bumps or clumps, like so:
Step 4: Pour the milk and vanilla essence into a pan. Heat on high until it's at scalding temperature, then turn it to medium. Make sure you stir it the whole time so that the milk doesn't scorch. You'll know the milk is ready when it starts to form little bubbles around the edge and it steaming, but it's boiling. Don't let it boil!
Step 5: Sift the flour mixture one more time, then add the hot milk and vanilla mixture. Stir it thoroughly.
Step 6: Add the egg whites into the mix and stir in. At this point, you can add food colouring if you wish, or even bake half of the mix first to make coloured layers. Before you colour it, the base should be very pale, like this:
Step 7: Coat a baking tin with butter and pour in the mixture. To bake it all will take between 50 minutes - 1 hour. If you're doing half of it first for a layered effect, it will take 20-30 minutes.
Step 8: After you remove the cake from the oven, place it on a cooling rack. As it cools, you can make the butter icing. Mash the butter up with the smooth side of a spoon to soften it, then add the icing sugar gradually. You can also add colouring to this.
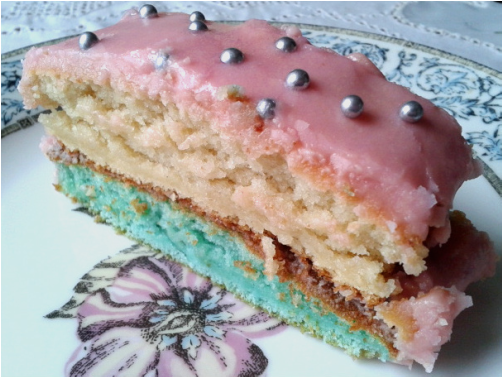
Step 9: Decorate with the icing as you please, then keep in an airtight container. This cake will last 3-5 days.
Nurtitional Information: One portion per recipe.
Calories: 190
Carbohydrates: 27
Fat: 7
Saturated Fat: 1
Protein: 3
Sugar: 1
~~~~~~~~~~~~~~~~~~~~~~~~~~~~~~~~~~~~~~~~~
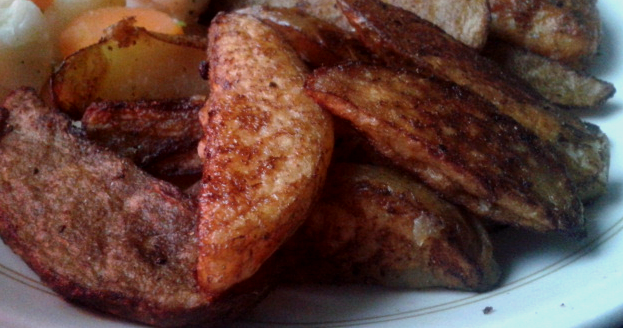
... I really don't know how to make chips look good in a picture, so I just took a photo of my dinner, hurhur.
Shopping List:- 150g potatoes
- 0.5 tablespoon extra virgin olive oil
- 1 teaspoon salt
- 1 teaspoon black pepper
- 1 tablespoon coriander
- 1 tablespoon cumin
- 3g beef stock powder (I use a beef oxo cube)
Method:Step 1: Put your oven on at 200 degrees C or 390 F. Let this preheat while you do the rest of the steps. Step 2: Chop up your potatoes to good size chips. Mine are about 1cm thick.Step 3: Put the potatoes in a pot of cold water and place over a high heat. Let them come to the boil, then take them off the heat and rinse with cold water. Step 4: Add the oil, salt and pepper and mix about with your hands. Then add the cumin, coriander and beef stock and mix well. Step 5: Line a baking tray with tin foil and arrange the chips onto it. Try to make sure that the chips aren't crammed together as this can cause uneven cooking.Step 6: Bake for 20 minutes, giving them a shuffle half way through in case they stick to the foil. When they're a rich, earthy colour, they're ready. Enjoy!
Nutritional Information (12 portions per recipe):
Calories: 180
Carbohydrates: 10
Fat: 14
Saturated fat: 7
Protein: 4
Sugar: 10
~~~~~~~~~~~~~~~~~~~~~~~~~~~~~~~~~~~~~~~~~~~
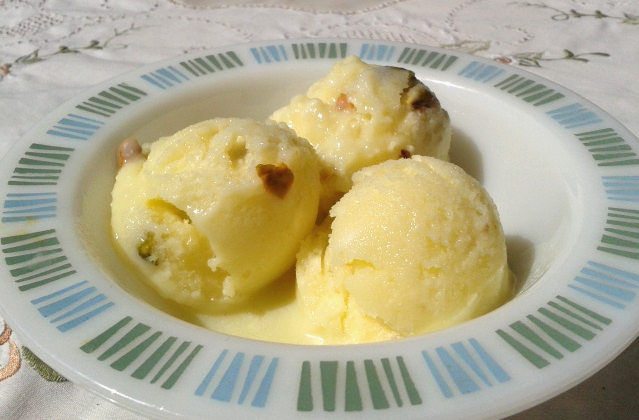
While I was visiting my boyfriend, his mother introduced me to Persian ice cream. I had heard about it before, but I never knew just how amazing it was until I experienced it for myself.
(Please excuse the poor picture, I use my phone for photos!) Persian ice cream is made with saffron and rosewater, and has a scatter of pistachio nuts and chopped cream through it. It's by far my favourite ice cream, replacing good old mint choc chip (sorry bro). Please note, I have been guided by a traditional recipe and added my own flair to it to make it healthier. This version has less fat than the ice cream you can find in stores. It's not difficult to make, but you will need an ice cream maker. I got mine from Amazon for about $30, and I would be lost without it. Remember to leave the inner bowl in the freezer over night so that it's ready for use the next day! Ice cream shopping list:- 2 large eggs
- 230ml whole milk
- 475ml single cream
- 100g white sugar
- 50ml clotted cream
- 30g chopped pistachio nuts
- Pinch of saffron
- 5 tablespoons rosewater
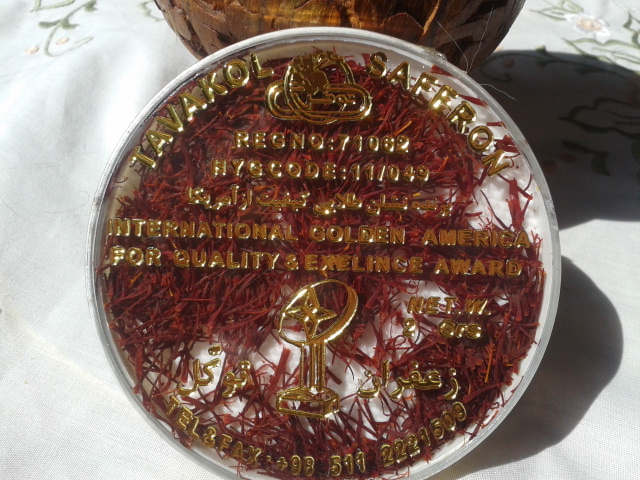
Some of these ingredients may be hard to find, like the saffron. Saffron is expensive but I got a fantastic deal on eBay. I received a decorative dish of Persian saffron for 10 GBP!Method:
Step 1.: First of all, spread the clotted cream into a dish, making it a thin layer no deeper than 1cm. Put it in the freezer.
Step 2: Grind up your saffron with a teaspoon of sugar. I used my mortar and pestle for this. It takes some work, but after a while, your mix should be a fine pink/white powder like this: Measure your rosewater and pour it into a cup that you don't mind getting stained. Pour the sugar and saffron powder into it and stir. This will let everything dissolve nicely. It will darken in colour, and look like this:
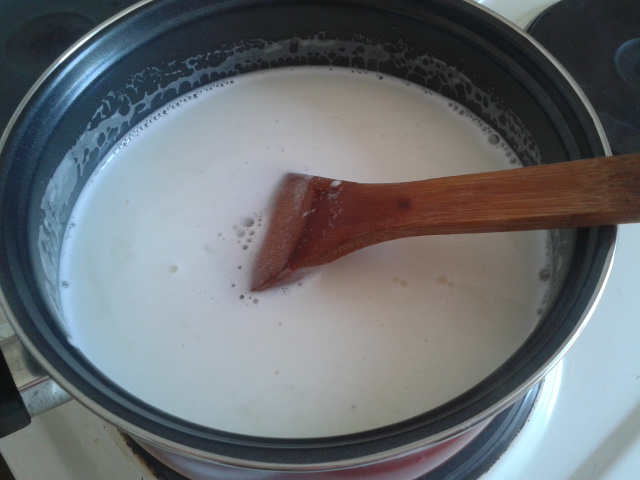
Step 3: Mix the cream and milk together on a medium heat. When it warms up, turn the heat to low.
Step 4: In the meantime, beat the eggs until they are light in colour.
Step 5: Gradually add the sugar into the eggs.
Step 6: Add a little of the milk and cream into the egg mixture. Once the egg mixture is a little warm, add the rest to the main mixture of milk and cream.
Step 7: Continue to heat this new mixture over a low heat, stirring constantly. It should look like this:
Step 8: When the mixture is at an even temperature, add the saffron rosewater, stir in, then remove from the heat. Let it cool completely before continuing!
Step 9: Pour the mixture into a container and refrigerate for 4 hours.
Step 10: Pour into your ice cream maker, following the instructions of your particular model.
Step 11: Fetch the clotted cream from the freezer. Break it up into thumbnail-sized flakes. As you are spooning your new ice cream into its container, add the cream and pistachios and stir them in. Store in the freezer and eat whenever you can.
|


 RSS Feed